Install Django Development Environment with VS Code and WSL2
Install Visual Studio Code (VS Code)
Install Visual Studio Code and Windows Terminal from the Microsoft Store.
Install WSL2 and Ubuntu
Open PowerShell and run the following command to install WSL2 and Ubuntu:
wsl --installUpdate Ubuntu and Install Required Packages
Launch WSL2 Ubuntu terminal and update the system. Then, install the required Python packages:
$ sudo apt update && sudo apt upgrade
$ sudo apt install python3.8-venv
Configure Visual Studio Code
Open the project directory in Visual Studio Code:
$ code .This will install necessary VS Code server files for Linux. The output will confirm the installation:
Installing VS Code Server for Linux x64 ...
Downloading: 100%
Unpacking: 100%
Unpacked 1773 files and folders to ...
Looking for compatibility check script at ...
Running compatibility check script
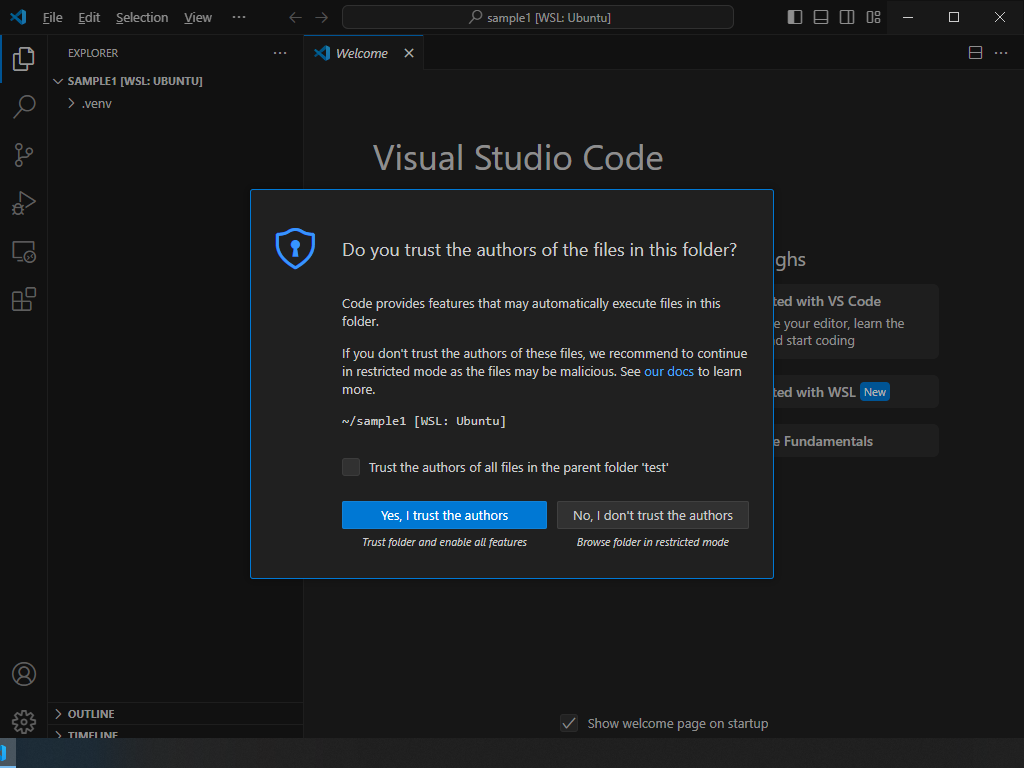
Compatibility check successful (0)Click “Yes, I trust the authors” on the VS Code
Install the Extensions in VS Code
Install extensions from the Extensions view in VS Code.
- WSL
- Python
- Python Indent
- Python Decstring Generator
- Visual Studio IntelliCode
Create a Project Directory
Create and navigate to a project directory:
$ mkdir sample1
$ cd sample1
Make a virtual environment for python
Create a virtual environment directory “venv”:
$ python3 -m venv venvActivate and deactivate the virtual environment
Activate the virtual environment
$ source venv/bin/activateThe terminal prompt will change to indicate the virtual environment is active, e.g.:
(venv) test@PC:~/sample1$It is better to record the installed modules:
(venv) test@PC:~/sample1$ pip freeze > requirements.txtTo deactivate the virtual environment, run:
(venv) test@PC:~/sample1$ deactivateInstall Django in the WSL Environment
With the virtual environment activated, install Django:
$ source .venv/bin/activate
(venv) test@PC:~/sample1$ pip install django
If you see this, the installation is success
Successfully installed Django-5.1.3 asgiref-3.8.1 sqlparse-0.5.2 typing-extensions-4.12.2Create a Django Project
To create a new project, make a directory:
(venv) test@PC:~/sample1$ mkdir src
(venv) test@PC:~/sample1$ cd src
Create a Django project
(venv) test@PC:~/sample1/src$ django-admin startproject main .List the contents of the directory to confirm the project files were created:
(venv) test@PC:~/sample1/src$ ls
main  manage.py
~/sample1
├── requirements.txt
├── venv
└── src
├── manage.py
└── main
├── __init__.py
├── asgi.py
├── settings.py
├── urls.py
└── wsgi.pyStart the Django Development Server
(venv) test@PC:~/sample1/src$ python manage.py runserverOutput:
Watching for file changes with StatReloader
Performing system checks...
System check identified no issues (0 silenced).
You have 18 unapplied migration(s). Your project may not work properly until you apply the migrations for app(s): admin, auth, contenttypes, sessions.
Run 'python manage.py migrate' to apply them.
November 26, 2024 - 04:44:51
Django version 5.1.3, using settings 'websample1.settings'
Starting development server at http://127.0.0.1:8000/
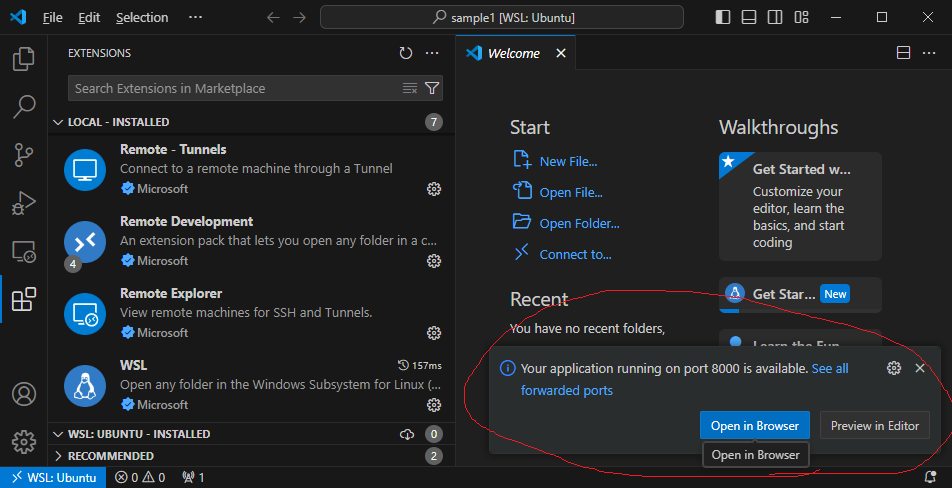
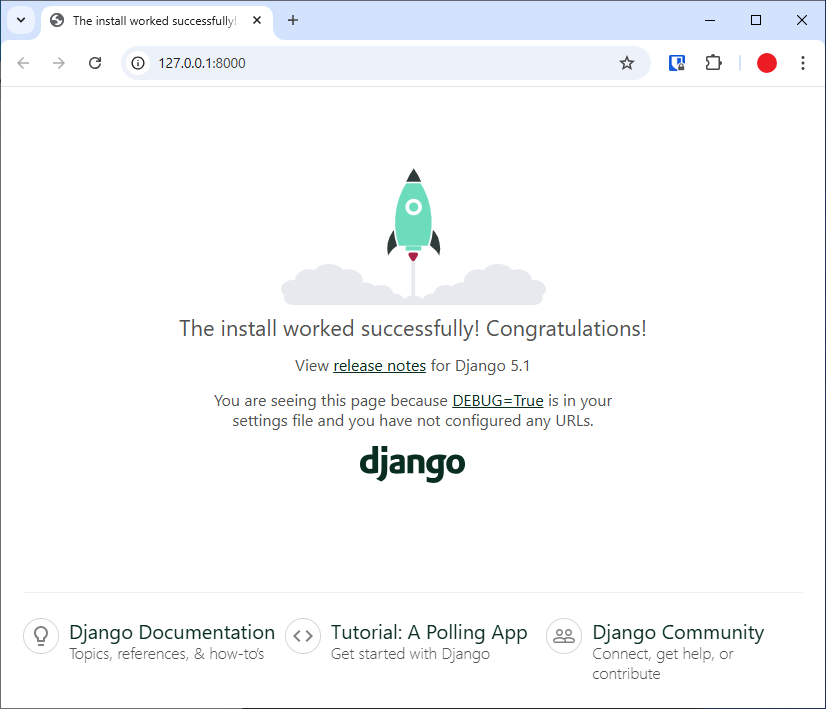
Quit the server with CONTROL-C.Visit http://127.0.0.1:8000/ in your browser to confirm the server is running.
Django initial settings
Template directory
The template folder is the folder where you save your HTML files.
Setting this will make your app development run more smoothly, so even if you don’t understand it at first, be sure to set it. Edit settings.py and find TEMPATES
TEMPLATES = [
    {
        'BACKEND': 'django.template.backends.django.DjangoTemplates',
        'DIRS': [ BASE_DIR / "templates"],
Add the above to “DIRS”. Now Django can recognize the “templates” folder as a template folder that contains HTML files.
Language and Timezone
Change the language and timezone.
LANGUAGE_CODE = 'en-us'

TIME_ZONE = 'UTC'
Static Media directory
It’s useful to do this first.
Static files are folders that contain .css and .js files.
Media files are folders that contain images.
# STATIC_URL = 'static/'
STATIC_URL = '/static/'
STATICFILES_DIRS = [BASE_DIR / "static_local" ]

MEDIA_URL = '/media/'
MEDIA_ROOT = BASE_DIR / "media_local"
Create folders as follows:
src
├── manage.py
├── media_local
├── static_local
└── main
     ├── __init__.py
     ├── asgi.py
     ├── settings.py
     ├── urls.py
     └── wsgi.py
Create the first app called app1
Create an application
Creating the first application called “app1”. Change directory where manage.py exists.
(venv) test@PC:~/sample1/src$ ls
db.sqlite3  main  manage.py
(venv) test@PC:~/sample1/src$ python manage.py startapp app1
Directories:
src
├── manage.py
├── media_local
├── static_local
├── main
│    ├── __init__.py
│    ├── asgi.py
│    ├── settings.py
│    ├── urls.py
│    └── wsgi.py
└── app1
     ├── __init__.py
     ├── asgi.py
     ├── settings.py
     ├── urls.py
     └── wsgi.py
There are two things to do when you first launch the app.
- Register the app in settings.py
- Link the app URL in urls.py